How to represent the "bocage"
For my project about the "Lions of Carentan", I must have this element specific of the Normandy... But in fact, what it really looks like the "bocage" ? Everyone knows these kind of picture:
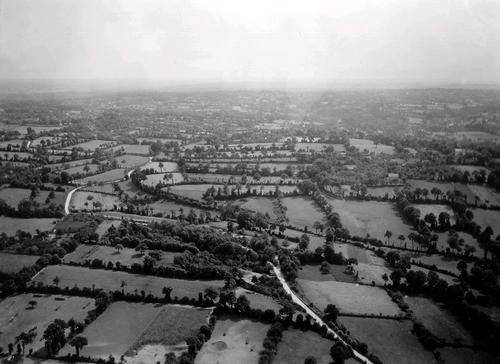
Today, the landscape of the Cotentin has few changed, although some parcels have been expanded and others were removed to make place for new roads. If you go on the landing beaches, take a ride on Utah Beach and you will see that there is not a long way to go to find themselves in the green hell of the "bocage".
This is in fact a kind of rock-work covered with earth on which the vegetation is allowed to grow. The interest is to protect the contents of each parcel of wind. The hedge obtained has variable dimensions, which is counted in meters in height and width, making it difficult to cross and allow an important cover.
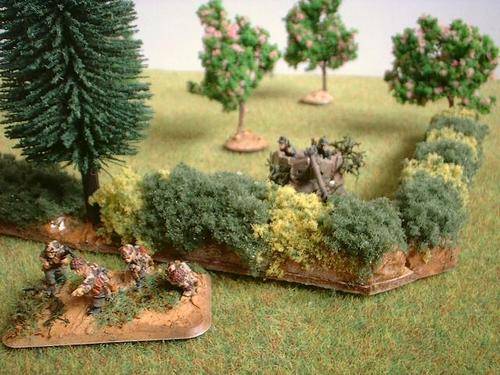
Materials Needed
- Cardboard: calendar cardboard or wood-cardboard of 3mm thick
- Extruded polystyrene 2cm thick
- Flocking to trees, that form a kind of grain of synthetic foam, comes in different colors. Here I chose a light green and darker green.
- Some trees
- Eventually filler and a knife to apply
- Acrylic paint (sienna for example), a large brush
- A cutter
- White glue and an old paintbrush
- Acrylic varnish in spray
How to
The first operation is to cut strips. First in cardboard, which will form the base for our hedges. I cut strips of 2cm wide. I use three different lengths: 10cm, 15cm and 25cm, just to make different sizes of parcels.
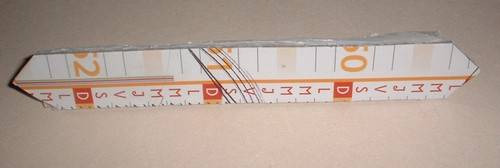
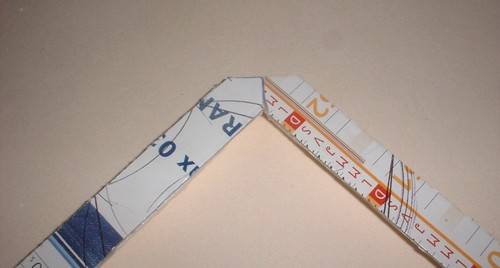
The ends of each strip of cardboard are cut at right angles, this allows the juxtaposition of hedges on the battlefield in preserving aesthetics.

Then I cut strips of 1.5 cm wide in the extruded polystyrene. No need to be too precise. They are glued on the thick cardboard box with white glue.
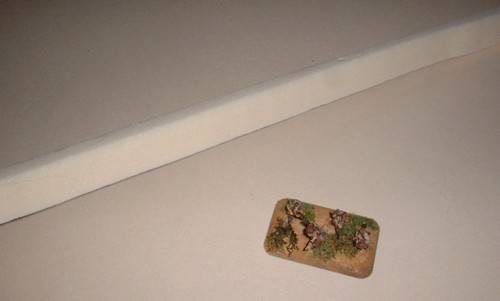
Once the piece is dry, polystyrene is cut to get a rounded shape as shown in picture below.
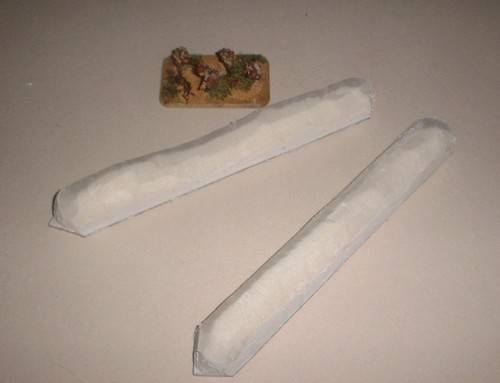
It is also possible not to glue polystyrene along the length of the strip, to place a tree (which breaks the monotony of the hedgerow) or to place a barrier which will be cut in thin cardboard or balsa.
Then, you can put filler between the cardboard and polystyrene, to hide unsightly hollow. When everything is dry, I pass a layer of lightly diluted acrylic paint to give a well earthy look.
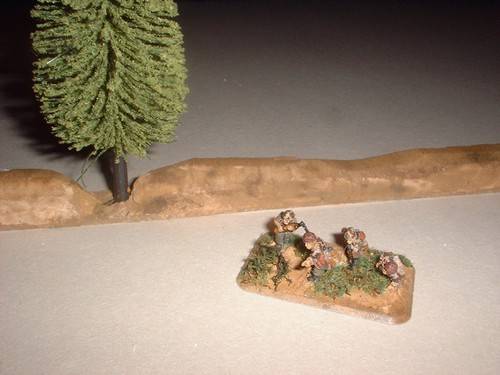
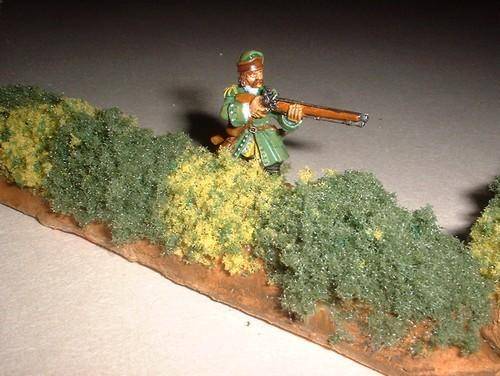
The top is then spread of white glue, then I just put a pinch of flocking. The process is repeated several times to toggle the different colors of flock and break a little more the monotony of the hedgerow.
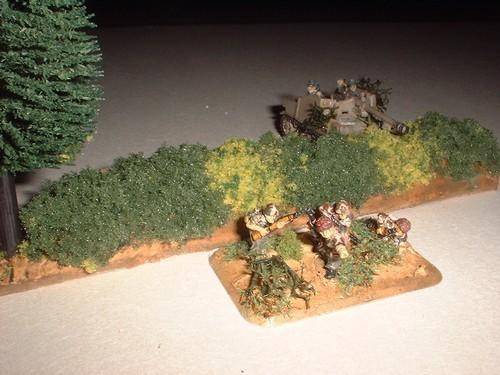
We must carefully avoid touching the flocking until the glue is dry: indeed, it is fragile and only want to drop from its support. To avoid this, once the glue is dry, pass many successive layers of varnish. Applied in thin layers, the varnish does not whiten but finish to glue the flocking.
With few trees and a German ambush, the "bocage" is operational.
Good advantage: it can also be usefull in conventional 28mm...
Today, the landscape of the Cotentin has few changed, although some parcels have been expanded and others were removed to make place for new roads. If you go on the landing beaches, take a ride on Utah Beach and you will see that there is not a long way to go to find themselves in the green hell of the "bocage".
This is in fact a kind of rock-work covered with earth on which the vegetation is allowed to grow. The interest is to protect the contents of each parcel of wind. The hedge obtained has variable dimensions, which is counted in meters in height and width, making it difficult to cross and allow an important cover.
Materials Needed
- Cardboard: calendar cardboard or wood-cardboard of 3mm thick
- Extruded polystyrene 2cm thick
- Flocking to trees, that form a kind of grain of synthetic foam, comes in different colors. Here I chose a light green and darker green.
- Some trees
- Eventually filler and a knife to apply
- Acrylic paint (sienna for example), a large brush
- A cutter
- White glue and an old paintbrush
- Acrylic varnish in spray
How to
The first operation is to cut strips. First in cardboard, which will form the base for our hedges. I cut strips of 2cm wide. I use three different lengths: 10cm, 15cm and 25cm, just to make different sizes of parcels.
The ends of each strip of cardboard are cut at right angles, this allows the juxtaposition of hedges on the battlefield in preserving aesthetics.

Then I cut strips of 1.5 cm wide in the extruded polystyrene. No need to be too precise. They are glued on the thick cardboard box with white glue.
Once the piece is dry, polystyrene is cut to get a rounded shape as shown in picture below.
It is also possible not to glue polystyrene along the length of the strip, to place a tree (which breaks the monotony of the hedgerow) or to place a barrier which will be cut in thin cardboard or balsa.
Then, you can put filler between the cardboard and polystyrene, to hide unsightly hollow. When everything is dry, I pass a layer of lightly diluted acrylic paint to give a well earthy look.
The top is then spread of white glue, then I just put a pinch of flocking. The process is repeated several times to toggle the different colors of flock and break a little more the monotony of the hedgerow.
We must carefully avoid touching the flocking until the glue is dry: indeed, it is fragile and only want to drop from its support. To avoid this, once the glue is dry, pass many successive layers of varnish. Applied in thin layers, the varnish does not whiten but finish to glue the flocking.
With few trees and a German ambush, the "bocage" is operational.
Good advantage: it can also be usefull in conventional 28mm...
Retour aux articles de la catégorie Tips and tricks -
⨯
Inscrivez-vous au blog
Soyez prévenu par email des prochaines mises à jour
Rejoignez les 19 autres membres
